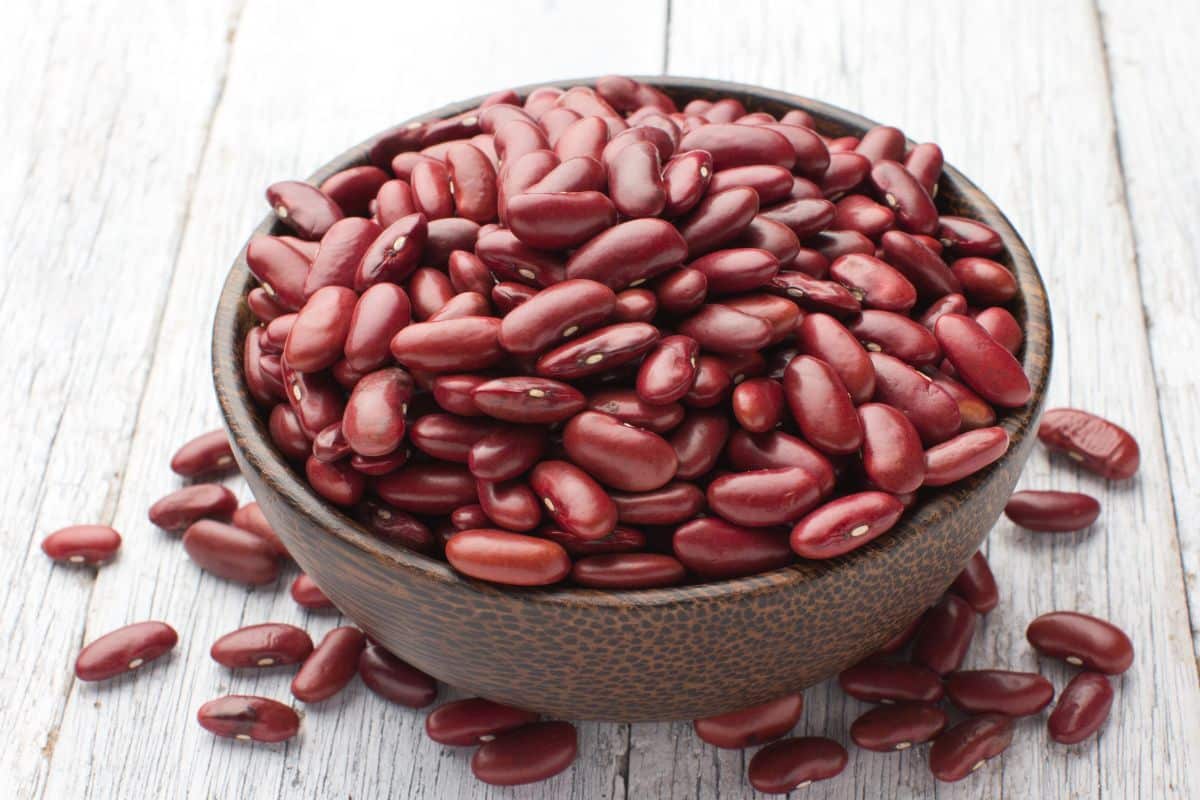
Growing pinto beans at home can be a rewarding experience that provides you with fresh, nutritious legumes while connecting you to the food production process. These speckled beans are not only delicious in Mexican dishes and chili but also relatively easy to cultivate with the right approach. Let’s explore how you can successfully grow pinto beans in your garden or even in containers.
Selecting the right conditions for pinto beans
Pinto beans (Phaseolus vulgaris) thrive in specific growing conditions that mimic their native environment. Understanding these requirements is crucial for a successful harvest.
Timing and temperature considerations play a vital role in pinto bean cultivation. These beans prefer warm soil and are sensitive to frost, making late spring the ideal planting time. Wait until soil temperatures reach at least 60°F (15°C) and all danger of frost has passed before planting.
The location you choose should receive full sun exposure for at least 6-8 hours daily. Pinto beans convert this sunlight into energy for vigorous growth and pod production. If you’re limited on outdoor space, consider creating an indoor office garden where you can control light conditions.
Soil quality significantly impacts bean growth. These plants prefer well-draining, fertile soil with a pH between 6.0 and 7.0. Before planting, incorporate compost or aged manure to enhance soil structure and nutrient content. Avoid soils that retain excessive moisture, as this can lead to root rot and other fungal issues.
For container growing, select pots at least 12 inches deep with adequate drainage holes. Fill with high-quality potting mix rather than garden soil, which may compact in containers and restrict root development.
Planting and caring for your pinto beans
The planting process sets the foundation for healthy bean plants. Following proper techniques will give your beans the best start possible.
Begin by preparing your soil through gentle tilling to a depth of 8-10 inches, removing any rocks or debris. If you’re interested in growing USDA certified organic beans, ensure you use organic seeds and avoid chemical fertilizers or pesticides.
When planting, place seeds approximately 1-2 inches deep and 3-4 inches apart. For row planting, space rows about 18-24 inches apart to allow sufficient air circulation. After planting, water gently but thoroughly, moistening the soil without washing away the seeds.
Water management is critical for pinto bean success. These plants need consistent moisture, especially during flowering and pod development, but dislike waterlogged conditions. Aim for about 1 inch of water weekly, adjusting based on your climate and soil type.
Mulching around your plants helps retain soil moisture, suppress weeds, and regulate soil temperature. Apply a 2-3 inch layer of organic mulch like straw or shredded leaves, keeping it slightly away from the plant stems to prevent rot.
While pinto beans can fix nitrogen from the air through root nodules, they benefit from light fertilization. Apply a balanced organic fertilizer at planting time, then switch to a phosphorus and potassium-rich fertilizer once flowering begins.
Managing common challenges and harvesting techniques
Even with proper care, pinto bean growers often face several challenges. Knowing how to address these issues can mean the difference between crop failure and abundance.
Pests like bean beetles, aphids, and cutworms frequently target bean plants. Instead of reaching for chemical solutions, try these organic pest management strategies:
- Companion planting with marigolds, nasturtiums, or aromatic herbs to repel insects
- Applying neem oil or insecticidal soap for active infestations
- Installing row covers during early growth stages
- Encouraging beneficial insects like ladybugs and lacewings
- Practicing crop rotation to break pest cycles
Disease prevention focuses primarily on proper spacing and air circulation. Avoid working with plants when they’re wet to prevent spreading fungal spores. If diseases appear, remove affected plants promptly to protect the remaining crop.
Harvest timing significantly impacts bean quality. For fresh “green” pinto beans, pick pods when they’re still tender but filled out, usually 50-60 days after planting. For dried beans, allow pods to dry completely on the plant until they turn brown and begin to split, typically 80-100 days after planting.
When harvesting for dried beans, choose a dry day after morning dew has evaporated. Pull entire plants and hang them upside down in a dry, well-ventilated area until pods are completely dry. Then shell the beans and store them in airtight containers in a cool, dark place.
Beyond basic growing: creative approaches
After mastering basic pinto bean cultivation, explore innovative growing methods and uses that can enhance your gardening experience.
Vertical growing solutions maximize limited space while improving air circulation around plants. Install trellises, poles, or string systems for your beans to climb. This approach not only saves space but makes harvesting easier and reduces soil-borne disease issues.
Consider experimenting with sprouting some of your pinto beans before cooking. Sprouted beans offer enhanced nutritional benefits and can be added to salads, sandwiches, and stir-fries.
Succession planting extends your harvest period significantly. Instead of planting all your beans at once, stagger plantings 2-3 weeks apart. This technique provides a continuous harvest rather than a single large yield that might overwhelm your kitchen capacity.
Save seeds from your best-performing plants for next year’s garden. Select the healthiest plants with the highest yields, allowing some pods to fully mature. This practice helps develop beans perfectly adapted to your specific growing conditions over time.
For a nutritious snack, try harvesting some of your crop as shoots, similar to pea shoots. These tender greens offer a different flavor profile and can be harvested just days after germination.
Growing pinto beans connects you to traditional agricultural practices while providing nutritious food for your table. With patience and attention to their basic needs, you’ll enjoy a satisfying harvest that can supply your kitchen throughout the year. Whether you’re growing beans in a spacious garden or in containers on a balcony, these versatile legumes reward your efforts with their distinctive flavor and impressive nutritional profile.

