
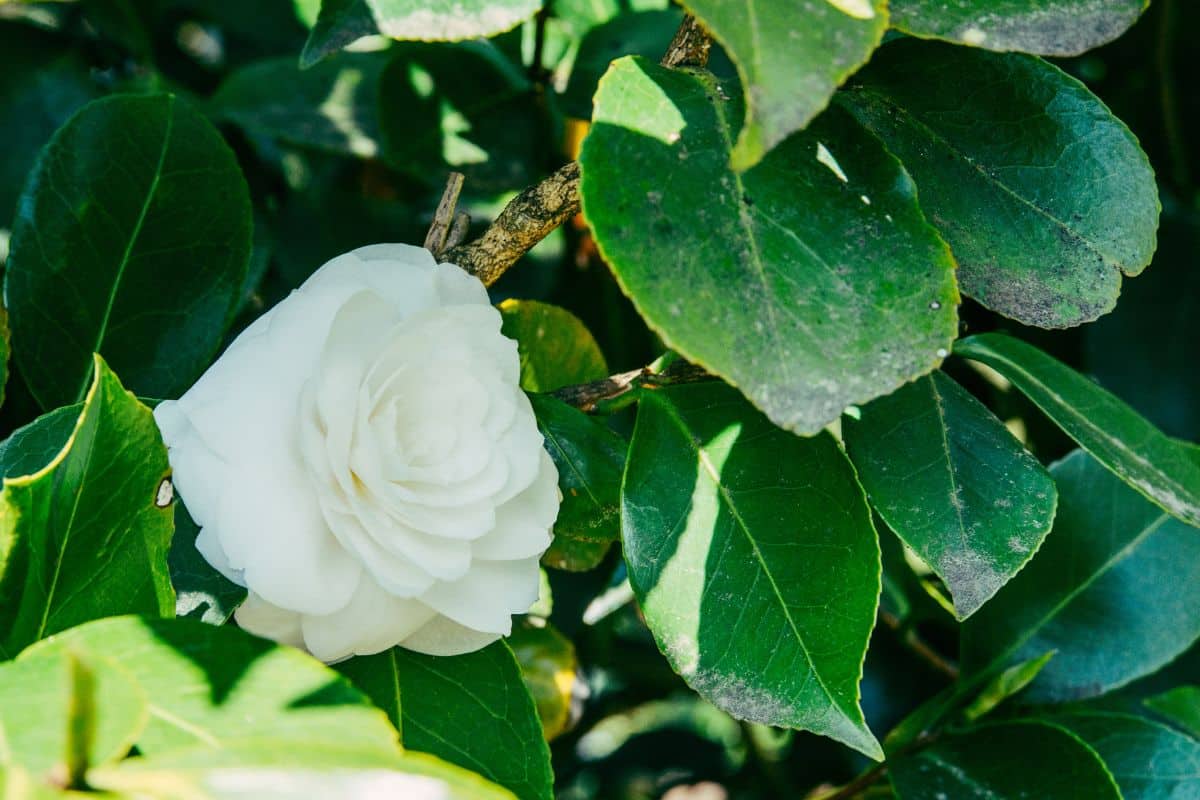

Discovering black spots on your camellia leaves can be alarming, especially when you’ve invested time and care into these stunning flowering shrubs. These dark lesions not only affect the aesthetic appeal of your plant but may also indicate underlying health issues that need attention. Understanding the causes behind these unsightly spots is the first step toward restoring your camellia’s vitality and preserving its beautiful blooms.
Common causes of black spots on camellia leaves
When black spots appear on your camellia leaves, several culprits might be responsible. Identifying the exact cause helps determine the most effective treatment approach.
Camellia leaf spot disease (Cercospora) ranks among the most prevalent fungal infections affecting these ornamental plants. This pathogen creates circular dark brown to black spots with yellowish halos surrounding them. The infection typically begins on older, lower leaves before progressing upward through the plant.
Another common cause is sooty mold fungus, which doesn’t directly infect the plant but grows on honeydew secreted by insects like aphids, scale, or whiteflies. This creates a black, soot-like coating that can be wiped away, unlike true leaf spot diseases that penetrate the leaf tissue.
Environmental factors also play a significant role. Excessive moisture on leaves, particularly when combined with poor air circulation, creates ideal conditions for fungal development. Similar to how basil plants require proper air circulation to prevent fungal issues, camellias need adequate spacing and pruning to maintain healthy foliage.
Sunscald can sometimes be mistaken for disease, causing dark patches when leaves are suddenly exposed to intense direct sunlight. This typically happens after pruning or relocating plants that were previously in shade.
Diagnosing the specific problem affecting your camellia
Proper identification is crucial for effective treatment of black spots on camellia leaves. Examine the characteristics of the spots carefully to determine which issue you’re facing.
For camellia leaf spot disease, look for these distinctive signs:
- Circular spots with defined edges
- Dark brown to black coloration
- Yellow halos surrounding the spots
- Spots that start on lower leaves and progress upward
- Leaves that eventually turn yellow and drop prematurely
Sooty mold presents differently, appearing as a superficial black coating that can cover entire leaves. Unlike true leaf spots, you can often wipe this substance away with a damp cloth, revealing healthy green leaf tissue underneath.
Inspect the undersides of affected leaves for insects that might be causing sooty mold. Tiny aphids, scale insects, or whiteflies may be visible to the naked eye or with a magnifying glass. Their presence confirms that honeydew secretion is likely contributing to your black spot issues.
Just as gardeners might reference a visual guide to leafy greens to identify different vegetables, having reference images of common camellia diseases can help you accurately diagnose your plant’s condition.
Effective treatments for black spots on camellias
Once you’ve identified the cause of black spots on your camellia leaves, you can implement targeted treatments to restore your plant’s health.
For fungal leaf spot diseases, follow these steps:
- Remove and destroy all affected leaves to prevent spread
- Improve air circulation by pruning overcrowded branches
- Apply a fungicide specifically labeled for camellia leaf spot
- Water at the base of the plant rather than overhead
- Apply a thick layer of mulch to prevent splash-back of fungal spores
Organic gardening approaches can also be effective against black spots. Consider using neem oil, which has natural fungicidal properties while being gentler on beneficial insects. Many gardeners who follow organic gardening practices prefer these solutions for maintaining plant health without harsh chemicals.
For sooty mold, focus on eliminating the insect infestation causing it. Insecticidal soaps effectively control aphids and whiteflies, while horticultural oils work well against scale insects. After addressing the pest issue, gently wash leaves with mild soapy water to remove the sooty residue.
Creating an environment that discourages fungal growth is equally important. Just as gardeners might create specialized growing environments for office gardens, camellias benefit from thoughtful placement and care that minimizes disease risk.
Preventing future black spot problems
The best approach to black spots on camellia leaves is prevention. Implementing good cultural practices significantly reduces the likelihood of encountering this issue again.
Proper watering techniques are fundamental to preventing fungal problems. Water at the base of plants during morning hours, allowing foliage to dry completely before evening. Avoid overhead watering which creates the moist conditions fungi thrive in.
Strategic plant spacing promotes optimal air circulation around your camellias. When planning your garden layout, consider the mature size of your plants and allow adequate space between them. This principle applies to all flowering plants, whether you’re growing camellias or planning a vibrant fall garden with various species.
Regular sanitation practices prevent disease spread. Promptly remove fallen leaves and prune out any affected branches. Clean your pruning tools between cuts with a 10% bleach solution to avoid transferring pathogens.
Consider applying preventative fungicides during periods when your camellias are most vulnerable, typically during wet, humid weather. Following a consistent application schedule before problems appear proves more effective than treating established infections.
By implementing these preventative measures and responding quickly to any signs of black spots, you’ll ensure your camellias remain healthy and continue to produce their spectacular blooms year after year.
